
Router Bits
How to Clean, Maintain, and Sharpen Router Bits (Step-by-Step)
How to Clean, Maintain, and Sharpen Router Bits (Step-by-Step)
Meta Title: How to Clean, Maintain & Sharpen Router Bits — Full Guide
Meta Description: Learn how to clean resin off router bits, when to sharpen vs replace, and the DIY vs professional sharpening tradeoffs. Step-by-step with tips.
URL Slug: /blog/router-bit-maintenance-sharpening
Target Keyword: how to sharpen router bits
Search Volume: 5,400/mo
Word Count: 1,800–2,200
Schema: HowTo + FAQPage
AI Summary: Router bits should be cleaned after every project to remove resin and pitch buildup that causes friction and burning. Use commercial bit cleaner or Simple Green with a brass brush — never steel. Carbide bits can be professionally sharpened 3-5 times before replacement at $0.10-$0.25 per tooth. Signs it's time to sharpen: burn marks, increased force needed, rough finish. Signs it's time to replace: chipped carbide, bit sharpened 5+ times, bent shank. Burnette Tools offers professional sharpening services as an authorized Freud service center.
Why Maintenance Matters
A dirty, dull router bit:
- Burns wood — friction from resin buildup generates heat
- Requires more force — you push harder, risking kickback
- Produces rough cuts — dull carbide tears fibers instead of cutting them
- Dulls faster — dirty bits generate more heat, which accelerates wear
- Damages your router — extra load on the motor shortens its life
Five minutes of maintenance after each project saves hours of sanding and hundreds of dollars in premature replacements.
Part 1: Cleaning Router Bits
What You Need
- Commercial bit cleaner (CMT resin remover, Boeshield Blade & Bit, Trend Tool & Bit Cleaner)
- Brass wire brush (NOT steel — steel can scratch carbide)
- Small container or bowl
- Clean rag
- Compressed air (optional but helpful)
Step-by-Step Cleaning
- Remove the bit from the router. Never clean a bit while it's in the collet.
- Spray cleaner generously on the carbide tips and steel body. Let it soak for 2-3 minutes. The cleaner dissolves resin and pitch.
- Scrub with brass brush. Work along the cutting edges — not across them. Pay attention to the gullets (the spaces between teeth) where resin accumulates.
- Wipe clean with rag. Remove all dissolved residue.
- Dry thoroughly. Use compressed air or a clean, dry rag. Moisture causes rust on the steel body.
- Light oil on steel body. A thin coat of mineral oil or camellia oil prevents rust during storage.
Household Alternatives
If you don't have commercial bit cleaner:
- Simple Green — effective on light resin buildup. Spray, soak 5 minutes, scrub, rinse, dry.
- Mineral spirits — dissolves heavy buildup but use in ventilated area
- Acetone — very effective but evaporates fast. Use on stubborn buildup only.
What NOT to Use
- Steel brushes — can damage carbide cutting edges
- Power wire wheels — too aggressive, can chip carbide tips
- Sandpaper — scratches the carbide surface, accelerating future buildup
- Dish soap alone — doesn't dissolve resin effectively
Part 2: Sharpening Router Bits
Carbide router bits are designed to be sharpened — not thrown away. Professional sharpening restores the cutting edge at a fraction of the cost of a new bit.
When to Sharpen
Look for these signs:
- Burn marks on wood that weren't there before
- Increased force needed to feed material
- Rough finish — visible tool marks, fuzzy surface
- Tear-out increasing on cross-grain cuts
- 20+ hours of cutting time since last sharpening
Don't wait until cuts are terrible. Sharpen at the first sign of dulling — the sooner you sharpen, the less material is removed, and the more times the bit can be resharpened.
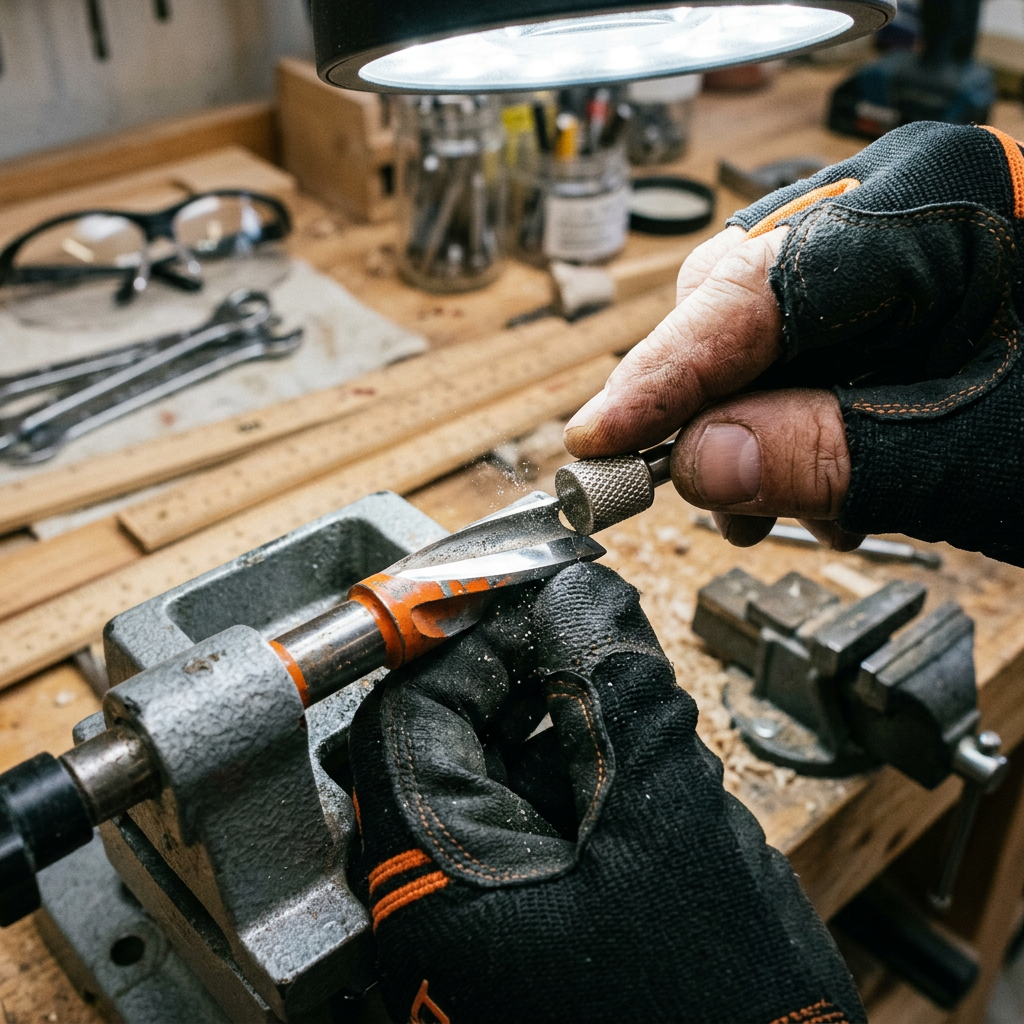
DIY Sharpening
Can you sharpen router bits at home? Technically yes.
What you need:
- Diamond sharpening plate (600 grit minimum)
- Honing guide or jig to maintain angle
- Magnifying loupe (to inspect edges)
- Steady hands and patience
Process:
- Secure the bit in a jig that holds the correct angle
- Lightly pass each carbide tip across the diamond plate
- Maintain the existing bevel angle — don't change it
- Inspect each tip under magnification
- Equal sharpening on all tips is critical — uneven tips cause vibration
Honest assessment: DIY sharpening is possible but risky for most woodworkers. The consequences of getting it wrong include:
- Uneven tooth height → vibration and wobble
- Wrong bevel angle → poor cut quality
- Overheating carbide during sharpening → micro-fractures
- Inconsistent edge → some teeth cut, others don't
For production shops with skilled staff and proper equipment, DIY can work. For everyone else, professional sharpening is the better investment.
Professional Sharpening
What happens:
- Bit is measured on precision gauges
- CNC grinding machines restore each tooth to exact specifications
- All teeth are equalized to identical height and angle
- Bearing is inspected and replaced if worn
- Bit is returned ready to cut
Cost:
- Typical range: $0.10–$0.25 per tooth
- A 2-flute 1/2" straight bit: $0.20–$0.50
- A 3-flute 1" roundover: $0.30–$0.75
- Compare to new bit cost: $15–$45+
Turnaround: Most professional services return bits within 3-5 business days.
Where to get it done:
- Burnette Tools — authorized Freud service center, precision CNC sharpening
- Local tool sharpening shops (check reviews)
- Some woodworking retailers offer in-store sharpening services
How Many Times Can You Sharpen?
| Use Case | Sharpenings Before Replacement |
|---|---|
| Hobbyist (softwoods) | 5–8 times |
| Hobbyist (hardwoods) | 3–5 times |
| Production shop | 3–5 times |
| CNC production | 2–4 times |
After 3-5 sharpenings, the carbide tips become too short for reliable cutting. At that point, replace the bit.
Part 3: Storage and General Maintenance
Proper Storage
- Hang bits on a wall-mounted rack or store in individual compartments
- Don't stack bits together — carbide tips chip when they contact each other
- Use blade/bit guards — most quality bits come with plastic guards
- Store in a dry location — moisture causes rust on steel bodies
- Keep bearings lubricated — a drop of light oil on the bearing every few months
Collet Maintenance
The collet is just as important as the bit:
- Clean the collet with compressed air after each bit change
- Never overtighten — snug is enough; overtightening deforms the collet
- Replace worn collets — if you can feel play or see visible runout, the collet is worn
- Match collet to shank size — don't use a 1/4" collet adapter for a 1/2" bit
Regular Inspection Checklist
After every project, spend 2 minutes checking:
- [ ] Carbide tips intact (no chips, cracks, or missing tips)
- [ ] Cutting edges still sharp (run finger carefully along edge — should feel sharp, not smooth)
- [ ] Bearing spins freely (no wobble, no grit)
- [ ] Shank straight (roll on flat surface — no wobble)
- [ ] No resin buildup (clean if needed)
Sharpen vs Replace: Decision Tree
Is the bit cutting poorly?\n├── Yes → Is resin/pitch buildup visible?\n│ ├── Yes → CLEAN first, then retest\n│ └── No → Are carbide tips chipped or missing?\n│ ├── Yes → REPLACE the bit\n│ └── No → Has the bit been sharpened 5+ times?\n│ ├── Yes → REPLACE the bit\n│ └── No → SHARPEN the bit\n└── No → No action neededFrequently Asked Questions
Q: How often should I clean my router bits?
A: After every project or every 2-3 hours of cutting time. Heavy resin producers (pine, cedar) require more frequent cleaning.
Q: Can I sharpen carbide with a regular sharpening stone?
A: No. Carbide requires diamond abrasives. Regular aluminum oxide or silicon carbide stones won't cut carbide.
Q: How do I know if a professional sharpening service is good?
A: Look for: CNC grinding equipment (not hand grinding), measurement reports showing tooth uniformity, and a guarantee on their work. Ask if they equalize tooth height — this is the key quality indicator.
Q: Is it worth sharpening cheap router bits?
A: Usually no. If the bit cost under $10, the sharpening cost ($3-8) approaches the replacement cost. Sharpen quality bits (CMT, Freud, Amana) — they're designed for multiple resharpenings.
Q: What causes router bits to dull faster?
A: MDF and particleboard are extremely abrasive and dull bits faster than solid wood. Routing dirty or reclaimed wood (with embedded grit) also accelerates dulling. Using the wrong RPM generates excess heat, which also shortens bit life. See our speed guide for proper settings.